


Apple Watch Band Fit Best Practices for Accurate Sensors
Your Apple Watch band should fit snug but not tight, with the sensor plate in consistent contact with your skin at all times. Three actions fix most fit problems immediately: measure your wrist in millimeters, confirm your band matches your case-size group, and choose a band type suited to your activity level.
Signs your fit is off:
- The watch slides when you move your wrist
- Heart rate readings drop or show errors
- You see deep red marks or indentations after an hour of wear
- The watch rotates freely when you shake your wrist
Consistent skin contact is required for Wrist Detect, the Taptic Engine, and both optical and electrical heart sensors to function correctly. A loose band is not just uncomfortable. It actively degrades the data your watch collects.
Pro Tip: If your sensors drop readings during a walk, try shifting the watch slightly up your forearm before tightening. Position alone often solves the problem.
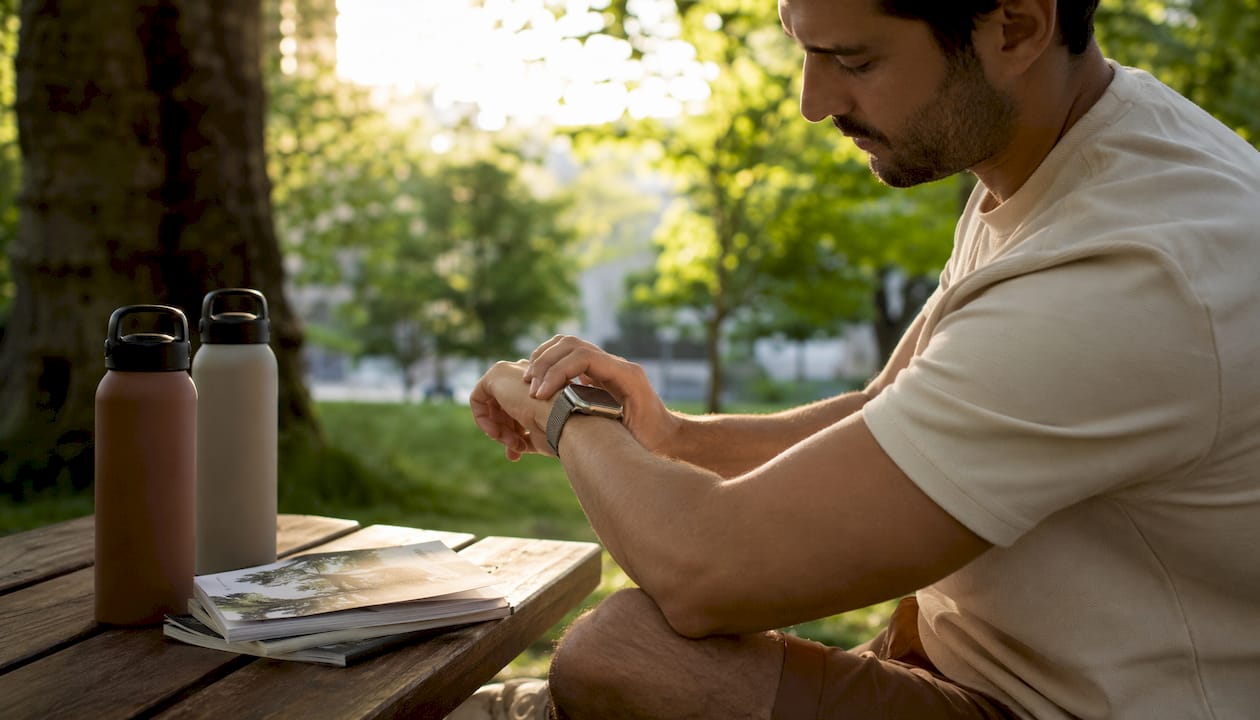
Table of Contents
- What does “recommended fit” actually mean for your Apple Watch?
- How to measure your wrist and match it to Apple band sizes
- Which band sizes fit which Apple Watch case sizes?
- How to adjust each common Apple Watch band type
- How to adjust fit for workouts and recover afterward
- Which band materials cause less skin irritation?
- How to remove and replace your Apple Watch band safely
- Key Takeaways
- Why fit rules matter more than most users realize
- Wizeband metal bands: adjustable fit for every wrist size
- Useful sources for sizing and sensor guidance
What does “recommended fit” actually mean for your Apple Watch?
Snug but not tight means you can slide one finger under the band with mild resistance. The watch should not rotate when you shake your wrist or turn your palm upward. If it does, the band is too loose.
Quick self-tests:
- Shake test: flick your wrist sharply. The watch face should stay centered.
- Palm-up test: turn your palm toward the ceiling. The sensor plate should stay flush against skin.
- Imprint check: a faint temporary mark after removal is normal. A deep red indentation that lasts more than 10 minutes means the band is too tight.
The back of the watch needs skin contact for wrist detection, haptic notifications, and heart rate monitoring. Wearing the watch on the top of your wrist, positioned a finger’s width above the wrist bone toward the elbow, gives sensors the best surface to read from.
Pro Tip: Before tightening, try repositioning the watch slightly higher on your forearm. Small positional shifts often stabilize sensor readings without adding pressure to your wrist.
How to measure your wrist and match it to Apple band sizes
Accurate measurement prevents the most common sizing mistake: ordering the wrong Solo Loop size and waiting days for an exchange.
Step-by-step measuring method:
- Use a flexible tape measure or a strip of paper cut to about 1 inch wide.
- Wrap it around your wrist a finger’s width above the wrist bone, on the arm you actually wear the watch on.
- Pull snug against the skin without compressing it.
- Mark or note where the tape meets itself, then read the measurement in millimeters.
- If using paper, lay it flat against a ruler and record the millimeter value.
Measure during normal daytime hours. Wrists are slightly smaller in the morning and can expand after intense exercise, so a midday measurement gives the most reliable baseline.
Measure the wrist you actually wear the watch on. Dominant wrists are often slightly larger, and that difference matters for Solo Loop sizing.
Solo Loop size reference
Solo Loop sizes change by roughly 4–5mm per step. Use this chart to find your starting size:
[Table removed due to unsupported specific measurements]
For adjustable bands like the Sport Band or Milanese Loop, your measurement maps to S/M or M/L ranges. If you land at the boundary between two sizes, size up for adjustable bands and use Apple’s printable sizer before ordering a Solo Loop.
Pro Tip: Never measure the wrist you don’t wear the watch on. Many users measure their non-dominant wrist by habit and end up with a Solo Loop that’s a full size off.
Which band sizes fit which Apple Watch case sizes?
Apple groups band compatibility into two main connector groups. Bands within each group are interchangeable across generations, so a band made for a Series 4 fits a Series 10 as long as the case-size group matches.
| Case size | Compatible band groups | Watch models |
|---|---|---|
| 38 / 40 / 41mm | 38mm, 40mm, 41mm bands | Series 1–10, SE |
| 42 / 44 / 45 / 46mm | 42mm, 44mm, 45mm, 46mm bands | Series 1–10, SE |
| — | 44mm, 45mm, 46mm bands also fit; Ultra-specific bands for intense activity | Ultra 1, Ultra 2 |
Key compatibility rules:
- Check the case size printed on the back of your watch before buying any band.
- Bands labeled for 38mm, 40mm, or 41mm cases all share the same connector and fit each other.
- Bands labeled for 42mm, 44mm, 45mm, or 46mm cases share a connector and are interchangeable.
- Ultra owners can use standard 44/45/46mm bands for everyday wear. For intense activity, Apple recommends bands with locking hardware designed for larger cases.
For a full breakdown of which bands work across series, the Wizeband guide on Apple Watch band interchangeability covers model-by-model exceptions in detail.
How to adjust each common Apple Watch band type
Solo Loop and Braided Solo Loop
These bands have no clasp. Sizing is the only adjustment. The material relaxes slightly with wear, so a new Solo Loop that feels firm is often correct. If it leaves deep indentations within an hour, the size is too small and should be exchanged. If the band slides freely on your wrist, size down.
The Braided Solo Loop stretches a bit more than the standard silicone version. When between sizes, most users find sizing up works better for the Braided style.
Sport Band (pin-and-tuck)
- Thread the band through the buckle to the hole that holds the watch snug.
- Tuck the tail through the keeper loop so it lies flat.
- Center the pin in the hole. An off-center pin wears unevenly and can cause the band to loosen during activity.
The Sport Band’s fluoroelastomer material is one of the most skin-friendly options available, especially for workouts and hot-weather wear.
Milanese Loop
Slide the magnetic clasp to the position that holds the watch snug. Land the clasp near the middle of the band’s length rather than at either end. That middle position gives you room to adjust tighter in cold weather (when wrists shrink) and looser in summer heat, without running out of band.
Link Bracelet
Remove links symmetrically. Take the same number of links off each side of the clasp so the watch face stays centered on your wrist. Removing links from only one side shifts the clasp toward the edge of your wrist, which looks unbalanced and can cause the watch to rotate.
Fit rule for link bracelets: After resizing, the clasp should sit on the underside of your wrist, centered. If it drifts toward either side within a day of wear, remove one more link from that side.
Leather buckle and Modern Buckle
Aim to fasten in the middle hole of the available range. This leaves room to move one hole tighter or looser as your wrist changes with temperature, activity, or time of day.
Safety checks for all band types:
- Never force a band into the slot. If it won’t slide, press the release button again and reposition.
- Listen for an audible click when inserting a new band. No click means the band is not locked.
- Inspect the lugs and clasp for debris or damage before reattaching after cleaning.
How to adjust fit for workouts and recover afterward
For exercise, tighten the band by about one adjustment hole or the equivalent increment. That single step reduces sensor movement enough to improve heart rate accuracy without cutting off circulation.
Workout fit routine:
- Tighten one hole (or one increment for Milanese/magnetic bands) before starting activity.
- After your workout, loosen the band to your normal setting immediately. Leaving a tight band on traps sweat and increases irritation risk.
- Wipe the sensor area on the back of the watch and the skin underneath with a clean, damp cloth.
- Let both the band and your skin dry before re-wearing.
Sweat, soap, lotion, and sunscreen residue under the band are the most common causes of post-workout skin irritation. Rinse bands and clean skin after workouts to prevent buildup that degrades both comfort and band materials over time.
Pro Tip: Instead of over-tightening during a run, shift the watch slightly up your forearm toward the elbow. That position stabilizes the sensor plate against a flatter surface and often reduces reading errors without extra pressure.
Which band materials cause less skin irritation?
Material choice affects both comfort and how well the band holds up to daily cleaning. For a broader look at comfort across band styles, the Wizeband guide on most comfortable Apple Watch bands covers material tradeoffs in detail.
Lower-irritation materials:
- Fluoroelastomer (Sport Band): non-porous, easy to wipe clean, resists sweat buildup.
- Woven nylon (Sport Loop): breathable, dries quickly, less likely to trap moisture.
- Titanium and 316L stainless steel hardware: generally hypoallergenic, less reactive than lower-grade metals.
Leather and some woven bands absorb sweat and take longer to dry. They work well for everyday wear but need more frequent cleaning and should be rotated with a silicone or metal band on heavy workout days.
The friction cycle is straightforward: a band that is too loose slides repeatedly across the same patch of skin, causing friction burns. A band that is too tight traps moisture and restricts airflow. Both extremes cause irritation, and both are solved by correct fit.
Daily care rule: Rinse your band after every workout. Avoid wearing it while applying lotion, sunscreen, or soap. Let both the band and your wrist dry completely before putting it back on.
If you experience persistent redness, rash, or swelling that does not clear within a day of removing the band, consult a physician. Some users have contact sensitivities to specific metals or adhesives used in band hardware. Switching to titanium or stainless steel hardware typically resolves metal-related reactions.
For hot-weather wear, breathable materials matter even more. Pairing a breathable band with summer-appropriate clothing reduces overall heat and sweat buildup on the wrist.
How to remove and replace your Apple Watch band safely
- Place the watch face-down on a soft, lint-free cloth to protect the display.
- Press and hold the band release button on the back of the case.
- Slide the band horizontally across to remove it. Do not pull downward or force it.
- Inspect the band slot and lugs for lint, debris, or visible damage before inserting a new band.
- Slide the new band in from the same direction until you hear or feel a click.
- Tug the band gently to confirm it is locked. If it slides out without pressing the release button, reinsert and try again.
Never force a band into the slot. If the band resists, press the release button again and reposition before sliding. A band that clicks in but still slides freely during wear is a sign the lug or connector is worn and should be inspected before use.
The Apple Support guide on changing bands confirms that the sensors work only when the watch sits on the top of the wrist with the back plate in full skin contact. A band that is not properly locked can shift the watch off that position.
Key Takeaways
Correct Apple Watch band fit requires consistent sensor skin contact, a snug but not tight feel, and band-specific adjustments for workouts and daily wear.
| Point | Details |
|---|---|
| Snug, not tight | Slide one finger under the band with mild resistance; the watch should not rotate on a wrist shake. |
| Measure in millimeters | Record wrist circumference in mm on your wearing wrist; Solo Loop sizes change by small increments per step. |
| Tighten for workouts | Move one hole tighter before exercise; loosen and clean band and skin immediately after. |
| Link bracelet symmetry | Remove links equally from both sides of the clasp to keep the watch face centered. |
| Wizeband adjustability | Wizeband metal bands use quick-adjust systems and butterfly clasps, covering both case-size groups across Series 4–10, SE, and Ultra 2. |
Why fit rules matter more than most users realize
The conventional wisdom on Apple Watch fit tends to stop at “not too tight, not too loose.” That framing is accurate but incomplete. The real issue is sensor physics. The optical heart rate sensor and electrical heart sensor on the back of the watch need consistent, uninterrupted skin contact to produce reliable readings. A band that allows even a few millimeters of movement during activity introduces noise into that signal.
Positioning matters as much as tightness. Wearing the watch directly over the wrist bone, rather than a finger’s width above it, places the sensor over a bony surface with less consistent blood flow. That single positioning error causes more inaccurate readings than a slightly loose band. Apple’s own guidance specifies placement above the wrist bone for exactly this reason.
The measurement step is where most users cut corners. Measuring the wrong wrist, measuring at the wrong time of day, or skipping millimeter precision entirely leads to Solo Loop exchanges and persistent fit problems. A two-minute measurement with a flexible tape prevents most of those issues before they start.
Wizeband metal bands: adjustable fit for every wrist size
The fit rules in this article point toward one practical requirement: a band that holds its position, maintains sensor contact, and adjusts without tools. Wizeband metal bands are built around that need. Crafted from 316L stainless steel with butterfly clasps and quick-adjust link systems, they hold securely without over-tightening. Every band covers both case-size groups (38/40/41mm and 42/44/45/46mm) and is compatible across Apple Watch Series 4–10, SE, and Ultra 2.
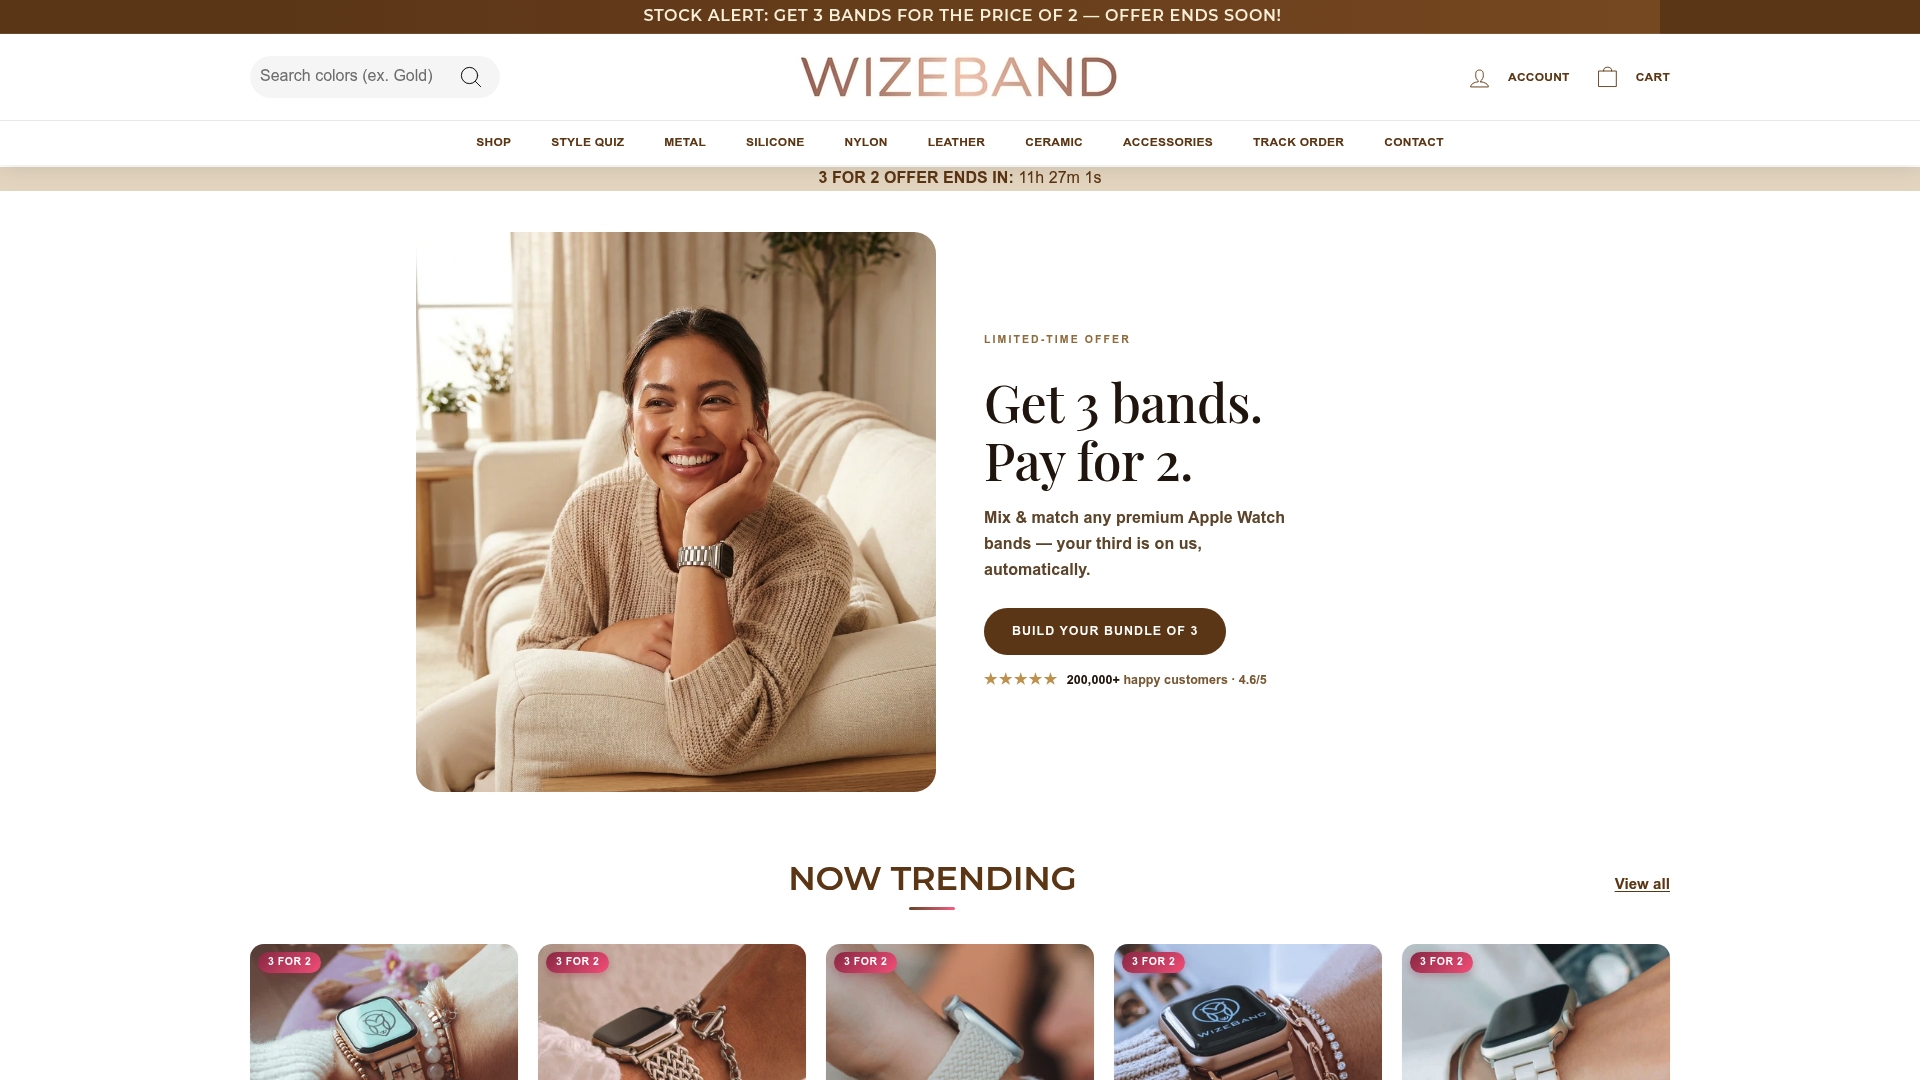
If you are ready to replace a band that slides, pinches, or irritates, the Wizeband Essentials Bundle gives you a starting set with multiple finish options. Prefer a single band to start? The Wizeband Starter Kit includes sizing support and an exchange option if the fit needs adjusting after delivery.
Useful sources for sizing and sensor guidance
The sources below were used as the primary references for fit standards, compatibility rules, and measurement guidance in this article.
- Wearing your Apple Watch — Apple Support’s official guidance on recommended fit, sensor contact requirements, and workout adjustment rules.
- Remove, change, and fasten Apple Watch bands — Apple’s step-by-step band removal and compatibility reference, including connector group rules.
- Change your Apple Watch band — Apple Support’s compatibility chart covering the 38/40/41mm and 42/44/45/46mm connector groups and Ultra notes.
- Apple Watch Band Size Guide — SmartWatches.org’s practical measurement guide, including Solo Loop sizing charts and link bracelet adjustment advice.
- All Apple Watch Band Sizes — MacObserver’s band size reference with case-size compatibility tables and Solo Loop size-to-mm mapping.
These sources were selected because they represent either Apple’s official published guidance or independently verified sizing and compatibility testing. For any fit or health concern, Apple Support and a qualified physician are the appropriate next steps.
Recommended
From the blog
View all


Leave a comment