


How to Store Your Metal Apple Watch Band Properly
Proper storage of a metal Apple Watch band is defined as keeping the band clean, dry, and individually separated in a cool, low-humidity environment to protect its finish and prevent corrosion. Most owners focus on how a band looks on the wrist but ignore what happens when it comes off. That gap in care is where micro-scratches, tarnish, and loose hardware begin. Whether you wear a 316L stainless steel band daily or rotate between styles, the way you store it between wears determines how long it keeps its factory finish.
How to store your metal Apple Watch band properly: environment first
The storage environment is the first variable to control. Cool, dry conditions protect metal bands from the two main threats: moisture and heat. Both accelerate oxidation on stainless steel surfaces, dulling the finish and weakening clasp mechanisms over time.
The right environment shares three qualities:
- Temperature stability. Bedrooms and closets maintain consistent temperatures. Garages and windowsills do not.
- Low humidity. Humidity above 60% creates conditions for surface oxidation on metal links and clasps.
- No direct sunlight. UV exposure fades finishes and heats metal unevenly, stressing the link system.
The bathroom is the worst place to store a metal Apple Watch band. Bathroom humidity fluctuations expose metal to repeated cycles of heat and moisture, which accelerates corrosion faster than any other common household environment. Many owners leave their band on the bathroom counter out of habit. That single habit shortens the band’s lifespan measurably.
Pro Tip: Place one or two silica gel packets inside your storage container. A silica gel packet absorbs ambient moisture and is especially useful in humid climates or during summer months when indoor humidity spikes.
What tools and storage solutions protect metal Apple Watch bands?
The right storage tool does one job: keep each band separated and cushioned. Individual padded compartments are the most effective way to prevent wear on metal bands. When metal contacts metal, micro-scratches form on the surface. Those scratches are cumulative and largely irreversible without professional polishing.
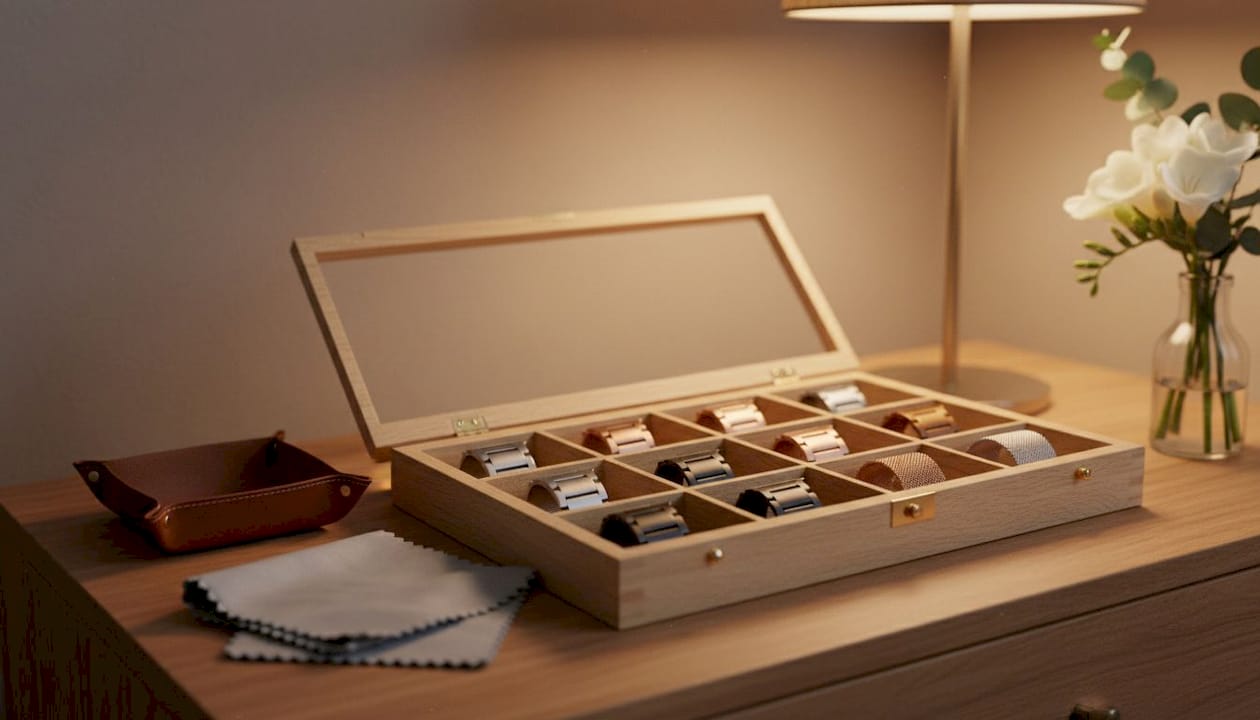
The main storage options break down by use case:
| Storage solution | Best for | Key benefit |
|---|---|---|
| Padded individual pouch | Single band, daily use | Prevents scratches, easy to grab |
| Soft-divided organizer tray | Multiple bands at home | Keeps bands separated and visible |
| Hard travel case with foam inserts | Travel or commuting | Protects against impact and compression |
| Drawer organizer with fabric dividers | Bedroom or closet setup | Low cost, easy to organize |
Avoid any container that lets bands shift freely. A loose band inside a box will scratch itself against the walls and against any other item in the same space. The metal link system on a quality band has tight tolerances between links. Repeated surface contact degrades those link edges over time.
- Use a separate pouch or compartment for each band.
- Line any hard container with microfiber or felt fabric.
- For travel, choose a rigid case with individual foam cutouts.
- Never store a band inside a plastic bag with other accessories.
Pro Tip: A small jewelry organizer with individual snap-close compartments works perfectly for metal Apple Watch bands. The compartments are sized correctly, the fabric lining is soft, and the case closes securely for travel.
What step-by-step process should you follow before storing a metal band?
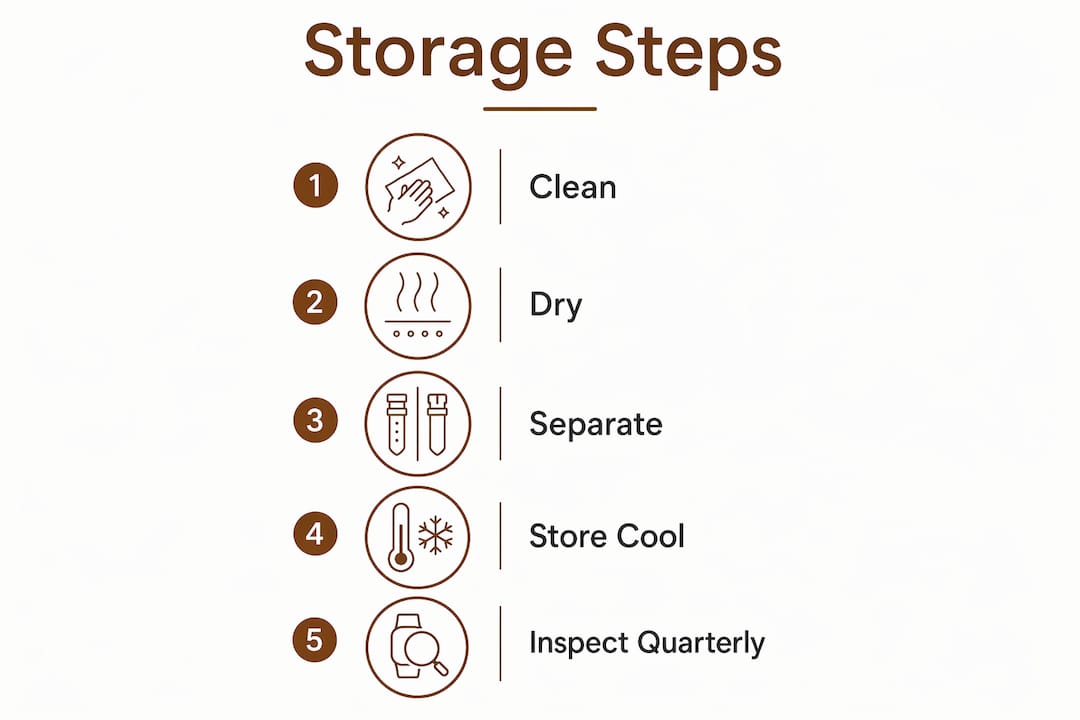
Storing a band without preparing it first locks in the damage. Sweat, skin oils, and dust sit on the metal surface and trap moisture against the finish. Cleaning before storage removes those contaminants and gives the band a clean baseline.
Follow this sequence every time you put a band into storage:
- Wipe the band with a soft, lint-free cloth. Remove visible oils, sweat, and dust from every link and the clasp. A dry microfiber cloth works for light cleaning.
- Use a mild cleaner for deeper grime. Apply a small amount of mild soap to a damp cloth and wipe the band. Avoid soaking the band or getting water inside the clasp mechanism.
- Dry the band completely. Pat dry with a clean cloth, then let the band air dry for 10–15 minutes before placing it in storage. Storing a damp band is the fastest way to cause corrosion.
- Inspect the hardware. Check the pins, screws, and clasp for tightness. Quarterly hardware inspections catch loose components before they become lost components. A loose pin found during storage is easy to fix. A lost pin discovered mid-wear is not.
- Place the band in its individual compartment. Lay it flat or loosely coiled in a padded pouch or soft-divided tray. Do not fold the band sharply or force it into a tight space.
- Add a silica gel packet if needed. Drop one packet into the container, especially in humid months or climates.
- Store in your chosen cool, dry location. Close the container and keep it away from windows, vents, and appliances that generate heat.
Pro Tip: Set a calendar reminder every three months to open your storage container, inspect each band’s hardware, and wipe away any dust that has settled. This takes five minutes and prevents the kind of gradual wear that only shows up when you want to wear the band again.
What common mistakes should you avoid when storing metal Apple Watch bands?
Most storage damage is self-inflicted. The mistakes below are common, easy to make, and entirely avoidable.
- Piling bands together. Stacking metal bands without separation causes micro-scratches that dull the finish permanently. Even a single unprotected contact point creates visible marks.
- Storing in the bathroom. The humidity and temperature swings in a bathroom are the leading environmental cause of metal band corrosion.
- Putting away a dirty or wet band. Oils and moisture sealed inside a storage container accelerate surface degradation. Always clean and dry before storing.
- Using harsh cleaning chemicals. Bleach, acetone, and abrasive cleaners strip protective coatings from stainless steel surfaces. Stick to mild soap and water.
- Tightly coiling the band. Forcing a metal link bracelet into a tight coil stresses the pin connections and can loosen links over time.
Separating metal bands during storage is the single most effective way to preserve their resale value and finished appearance. Metal-on-metal contact is the primary cause of surface degradation in stored bands, and it is entirely preventable with the right organizer.
How does ongoing maintenance extend the life of stored metal Apple Watch bands?
Storage is not a set-and-forget activity. Regular maintenance during storage periods keeps bands in wearable condition and catches problems early.
- Quarterly hardware checks. Inspect every pin, screw, and clasp for looseness. Tighten any components that have shifted. Keep the small adjustment tool that came with your band in the same storage location so it is always accessible.
- Routine dust removal. Even inside a closed container, dust accumulates on metal surfaces. A quick wipe with a dry microfiber cloth every few weeks keeps the finish clean.
- Careful polishing for scratches. Polish metal bands cautiously using a metal-safe polish applied with minimal pressure. Test on an inconspicuous area first. Over-polishing brushed finishes removes the factory texture and cannot be undone.
- Store spare links and tools together. If you have removed links to adjust the band fit, keep those spare links in a labeled small bag inside the same storage container. Losing spare links means losing the ability to resize the band later.
Pro Tip: For 316L stainless steel bands, a small drop of mineral oil on a cloth, buffed gently across the links, restores surface luster between polishing sessions without removing any material from the finish.
Key Takeaways
Storing a metal Apple Watch band properly requires a clean band, individual padded storage, a cool dry environment, and quarterly hardware checks to preserve its finish and extend its functional life.
| Point | Details |
|---|---|
| Environment matters most | Store in a cool, dry place away from bathrooms, sunlight, and humidity above 60%. |
| Separate every band | Use individual padded pouches or soft-divided trays to prevent micro-scratches from metal contact. |
| Clean before storing | Wipe and fully dry the band before placing it in storage to prevent trapped moisture and corrosion. |
| Inspect hardware quarterly | Check pins, screws, and clasps every three months to catch loose components before they become lost ones. |
| Polish with caution | Use metal-safe polish sparingly and test on a hidden area first to avoid removing the factory finish. |
What I have learned from years of watching metal bands age badly
The advice most people skip is the separation rule. Owners who invest in a quality metal bracelet Apple Watch band and then drop it into a drawer with other bands are the same ones asking why the finish looks dull six months later. The cause is always the same: unprotected metal-on-metal contact during storage.
The second pattern I have seen repeatedly is bathroom storage. It feels convenient. The band comes off before a shower and lands on the counter. That habit, repeated daily, exposes the band to more humidity cycles in a week than a year of careful bedroom storage would. The corrosion is slow and invisible at first, then suddenly obvious.
The resale value angle is real and underappreciated. A metal Apple Watch band stored correctly in individual padded compartments, cleaned before each storage period, and inspected quarterly holds its finish and its value. The same band stored carelessly looks worn within months, regardless of how rarely it was actually worn.
My practical recommendation: buy one small jewelry organizer with individual compartments and keep it in your bedroom. Put your silica gel packets inside. That setup costs very little and eliminates the most common storage mistakes in one step.
— John
Wizeband metal bands and storage: a natural fit
If you are building a rotation of metal Apple Watch bands, having the right bands to store is the starting point.

Wizeband designs premium metal straps in 316L stainless steel with butterfly clasps and quick-adjust link systems, built to hold their finish when cared for correctly. The Wizeband Essentials Bundle gives you multiple bands in one purchase, making it easy to set up a proper rotation with each band stored individually. Every band in the lineup is compatible with Apple Watch Series 4–10, SE, and Ultra 2, so you can build a collection without worrying about fit. Proper storage starts with bands worth storing.
FAQ
How should I store a metal Apple Watch band at home?
Store the band in a cool, dry location such as a bedroom or closet, inside an individual padded pouch or soft-divided organizer. Avoid bathrooms and any area with high humidity or direct sunlight.
Can I store multiple metal bands together?
No. Piling metal bands together causes micro-scratches that dull the finish permanently. Each band needs its own compartment or pouch.
How do I prevent tarnish on a stored metal Apple Watch band?
Clean and fully dry the band before storage, then place a silica gel packet in the storage container. Silica gel absorbs moisture and is the most effective passive defense against tarnish in humid conditions.
How often should I inspect a metal band in storage?
Inspect pins, screws, and clasps every three months. Quarterly hardware checks catch loose components before they fail during wear.
Is it safe to polish a metal Apple Watch band before storing it?
Yes, but use a metal-safe polish with minimal pressure and test on a hidden area first. Over-polishing brushed surfaces removes the factory texture and cannot be reversed.
Recommended
From the blog
View all


Leave a comment