


When Your Apple Watch Band Won't Latch: A Fix-It Guide
If your Apple Watch band won’t latch, start by centering it in the slot, pressing the release button all the way down, and pushing until you feel a click. Don’t wear the watch if the band still slides or shifts after that. If the click never comes, the fixes below cover cleaning, safe removal, and how to tell whether the band or the watch itself is the problem.
TL;DR:
- Debris, buildup, misalignment, or worn connectors are the main causes of Apple Watch band latch failures, often due to sweat or grime buildup.
- Full depression of the release button using the thumbnail or a small tool is crucial for proper band seating and avoiding mechanical damage.
- Cleaning with isopropyl alcohol, compressed air, and gentle brushing can resolve most jams caused by dirt or corrosion, but won’t fix bent pins or broken springs.
- Swapping in a known-good band helps determine whether the issue is with the band or the watch’s connector, guiding repair or replacement decisions.
- Regular maintenance, proper fit, and inspecting the connector pins prevent most latch issues and extend the lifespan of both bands and mechanisms.
Table of Contents
- Quick Checklist: Fix an Apple Watch Strap Not Securing in Two Minutes
- Why Won’t My Watch Band Latch? Common Causes Explained
- How Do You Safely Remove a Stuck Apple Watch Band?
- The Right Tools for Cleaning a Jammed Apple Watch Latch
- When Should You Contact Apple or a Repair Provider?
- How to Prevent Apple Watch Band Latch Problems Going Forward
- What Actually Causes Most Latch Failures? A Publisher’s Take
- Considering a Replacement Band That Actually Holds a Click?
- Sources
Quick Checklist: Fix an Apple Watch Strap Not Securing in Two Minutes
Before touching any tools, run through this sequence. It resolves most cases of an Apple Watch band won’t latch complaints without cleaning supplies or a trip to the store.
- Confirm the band is inserted with the text facing outward and the connector aligned straight into the slot.
- Press the release button firmly, using a thumbnail or small tool if your finger can’t apply enough pressure.
- Slide the band left, then right, while holding light pressure toward the watch case.
- Swap in a different band you know works, and try it in the same slot.
- Stop immediately if the band still moves after these steps, and move to the removal and cleaning sections below.
This mirrors Apple’s own re-seating guidance, and the vast majority of loose-band complaints trace back to one of these four steps being skipped, usually incomplete button depression.
Why Won’t My Watch Band Latch? Common Causes Explained
Apple Watch band issues almost always come down to one of four things: debris, buildup, misalignment, or a worn mechanical connector. Figuring out which one you’re dealing with tells you whether you need a cotton swab or a replacement band.
Test with a known-good band first. Swap in a spare band, even a basic silicone one, into the slot giving you trouble. If it clicks in fine, the problem is your original band’s connector, not the watch. If nothing locks in that slot, the issue lives in the watch itself.
Sweat, lotion, and everyday grime build up inside the release mechanism faster than most people expect, especially for anyone wearing their watch during workouts. That residue keeps the spring-loaded button from moving freely, which prevents the pin from seating.
- Debris in the channel: dust, lint, and skin oils collect where the band slides into the case.
- Corroded or sticky button: salt from sweat can gum up the tiny release mechanism until it barely moves.
- Misalignment: the band is inserted at a slight angle instead of straight into the connector track.
- Damaged spring or pin: repeated force or a drop can bend the internal pin so it never fully extends.
Cleaning solves the first two causes most of the time. Apple’s own maintenance guidance points to isopropyl alcohol and compressed air as the standard fix for a clogged release button. Let it dry for about 60 seconds, then use a few short bursts of compressed air to clear any loosened particles before testing again.
Full button depression matters more than people assume. That release button is small, and a partial press won’t retract the pin far enough for the band to slide in. Apple explicitly recommends using a thumbnail or the edge of a fingernail to guarantee full travel, especially on Ultra 2 and Series models with tighter tolerances.
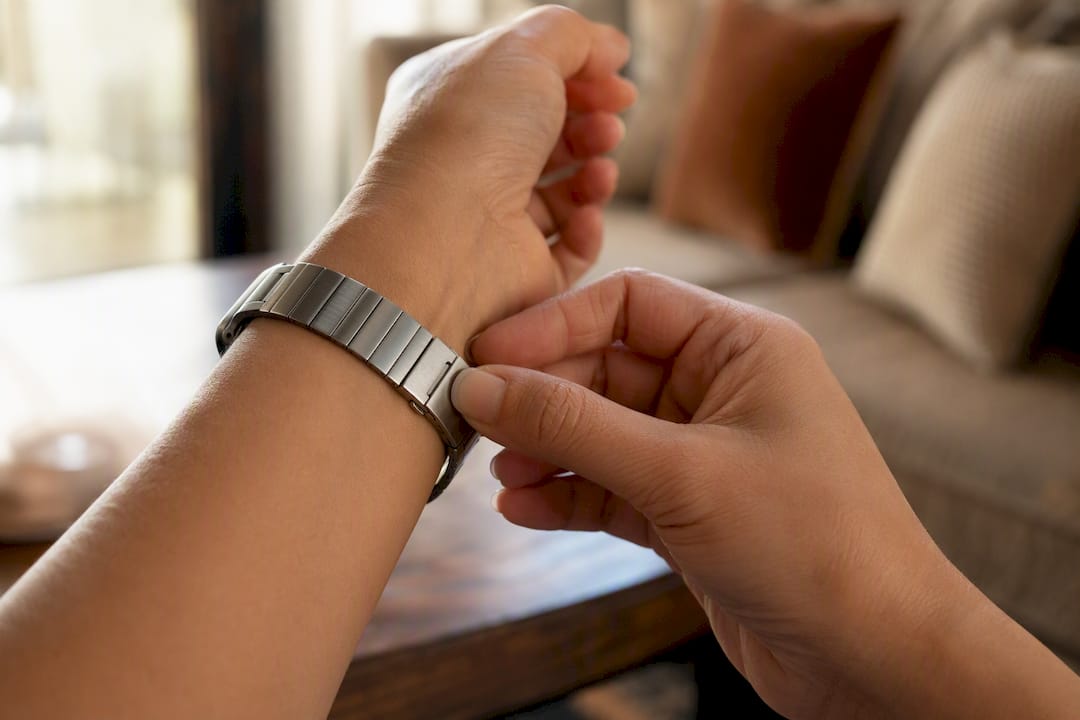
If you press fully, clean thoroughly, and still get no tactile click, look for physical damage: a bent pin, a spring that doesn’t spring back, or a button that feels loose rather than firm. That’s a mechanical failure, not a cleaning problem.
Pro Tip: If you can see a visible click on a link bracelet or butterfly clasp but the sport loop or leather band still slides, the mechanisms are different enough that a fix for one type won’t automatically apply to the other. Diagnose each band by its own connector style.
Torn silicone bands are a separate issue entirely. iFixit’s repair guide shows that small tears near the pin holes can sometimes be fixed with UV-curable glue, but a collapsed spring or bent metal lug inside the connector housing isn’t something you can repair at home. That calls for a new band.
How Do You Safely Remove a Stuck Apple Watch Band?
Work on a soft towel or cloth, under good light, with a small nylon or plastic tool nearby, never metal. You’ll also want isopropyl alcohol and a can of compressed air within reach.
- Locate the release button on the underside of the case, near where the band meets the watch.
- Press the button fully while gently wiggling the band side to side.
- If it still won’t budge, dampen a cotton swab with alcohol and hold it against the button for about 15 seconds to loosen any corrosion.
- Try the press-and-wiggle motion again, adding light, steady outward pressure, never a yank.
- If debris seems to be the culprit, use short bursts of compressed air directly into the connector channel between attempts.
Apple’s own removal instructions are explicit on one point: never force a band into place or wrench it free. Forcing the mechanism risks bending the pin permanently, turning a fixable jam into a real repair issue.
If none of this works after two or three attempts, stop. Take a short video of the button not moving, note your watch’s serial number (Settings > General > About), and prepare that information for Apple Support or an authorized repair provider.
The Right Tools for Cleaning a Jammed Apple Watch Latch
Cleaning solves most jams that aren’t caused by physical damage, but only if you use the right materials in the right order.
- 70% or higher isopropyl alcohol to break down oils and salt without damaging the metal or seals.
- Cotton swabs, trimmed slightly narrower if needed, to reach into the tight connector channel.
- A soft, dry brush (an old, clean toothbrush works) to loosen dried grit before wiping.
- Compressed air, used in short bursts, to clear whatever the swab loosens.
Dampen the swab, not soak it, then run it along the metal track and around the release button itself. Let it air dry for roughly a minute, then blow out any remaining particles. Test the band again before repeating the process.
Pro Tip: Never use household solvents like nail polish remover or all-purpose cleaners. They can degrade the seals around your watch’s speaker and charging port, and moisture in those areas is a separate problem you don’t want to create while fixing a band.
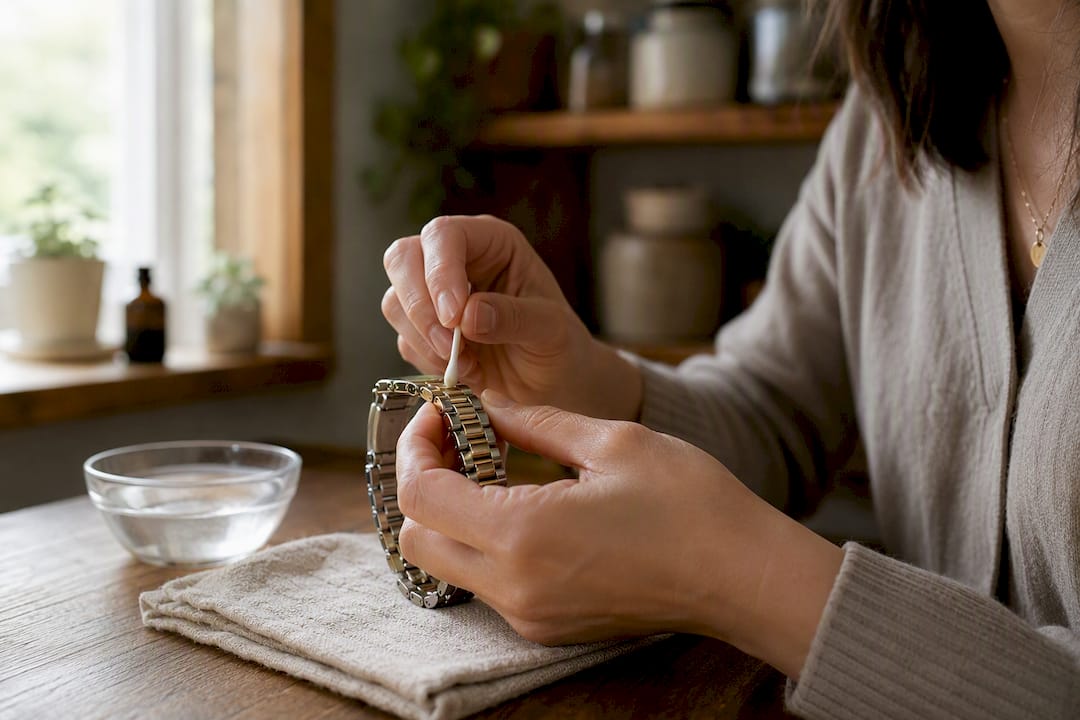
Cleaning works reliably against debris and light corrosion. It won’t fix a bent pin or a spring that’s lost its tension, no matter how many times you repeat the process.
When Should You Contact Apple or a Repair Provider?
Stop troubleshooting and reach out for service when the evidence points to something cleaning can’t fix.
- A known-good band locks in perfectly in the same slot, meaning your original band’s connector is the faulty part.
- Neither slot accepts any band, or you notice visible damage to the case near the connector.
- You’ve cleaned, pressed, and wiggled multiple times with zero tactile click.
Document the issue with a short video, list the steps you’ve already tried, and have your serial number ready. Most outcomes split cleanly: a faulty band gets replaced, while a case-level connector problem needs Apple Support or an authorized technician.
How to Prevent Apple Watch Band Latch Problems Going Forward
A band that fits snugly against your skin, without gaps that trap sweat and lint, latches more reliably over time. Loose-fitting bands shift during the day, grinding grit into the connector every time they move.
- Clean the connector channel after workouts or any exposure to salt water or heavy sweat.
- Check your band fit every few months, snug enough for skin contact without leaving marks.
- Inspect the connector pins on any band periodically for looseness or visible bending.
- Retire any band showing corrosion around the pin or a spring that no longer pushes back firmly.
Bands with reinforced, tested clasps hold up longer under daily wear than the ones that ship in the box, and knowing why an upgraded band matters helps you spot the warning signs before a latch fails on you unexpectedly.
What Actually Causes Most Latch Failures? A Publisher’s Take
Most latch complaints Wizeband hears about trace back to the same three habits: bands inserted at a slight angle, release buttons pressed halfway instead of fully, and months of gym sweat never cleaned out of the channel. It’s rarely the watch. It’s almost always maintenance, or a factory band connector that was never built to survive daily wear.
That’s the thinking behind how Wizeband builds its bands. Every clasp gets tested for repeated open-close cycles, the 316L stainless steel connectors resist the corrosion that jams cheaper mechanisms, and the quick-adjust systems are built with tighter tolerances so alignment mistakes are harder to make in the first place.
One habit worth adopting: if you find yourself cleaning the same band’s connector more than once a month, that band is telling you something. Chronic buildup on one specific band, while others work fine in the same slot, usually means its internal spring has weakened enough to trap more debris than it used to.
— John
Considering a Replacement Band That Actually Holds a Click?
If cleaning and troubleshooting confirmed your band’s connector is the real problem, replacement is the permanent fix, not a temporary patch. A worn spring or bent pin doesn’t improve with more cleaning.
Wizeband builds its bands around that exact failure point. The Gaia metal strap, the Tokyo stainless steel band, and the Nete stainless band all use 316L stainless steel connectors and butterfly or jewelry clasps tested for repeated daily use, and every one fits Apple Watch Series 4 through 10, SE, and Ultra 2 without guessing your size at checkout. If you’d rather set up backups than troubleshoot the same latch twice, the Wizeband Essentials Bundle gives you multiple finishes ready to swap in the moment one connector starts acting up. Check the current sizing and finish options on the product page before you order.
Sources
- Change your Apple Watch band
- How To Repair a Torn Silicone Apple Watch Band
- Apple Watch band is stuck on one side so I can’t remove it.
Recommended
From the blog
View all


Leave a comment